During the last weeks I haven't spent much time in the workshop. Been around in the city and country.
Sinner is found!
My tablesaw had a burn mark on the top. Looked like someone had left a burning cigarette on the saw.
Then the other day when I entered there was a smell of burning wood but no smoke and no fire. Looking around I foind this piece of wood with a burnmark on the tablesaw.
And above was the sinner. My magnifying lamp.
So always remember to cover the magnifying glass or turn the lamp away from the window! Actually I don't use it very much.
New (old) computer for the CNC.
I was tired of rewiring the laptop every time I wanted to use my small cnc-machine. So I decided to use our old TV-computer as a dedicated cnc-computer instead of standing in a corner waiting to be old enough for the dump.
The computer is placed on the top of the cabinet and an old monitor was mounted on the wall. Time will show if the computer can stand the heat up there.
Aspire
In the process of investigating cnc-software i borrowed a licence for a very interesting piece of software Vectric Aspire. With Aspire it was very easy to make moldings.
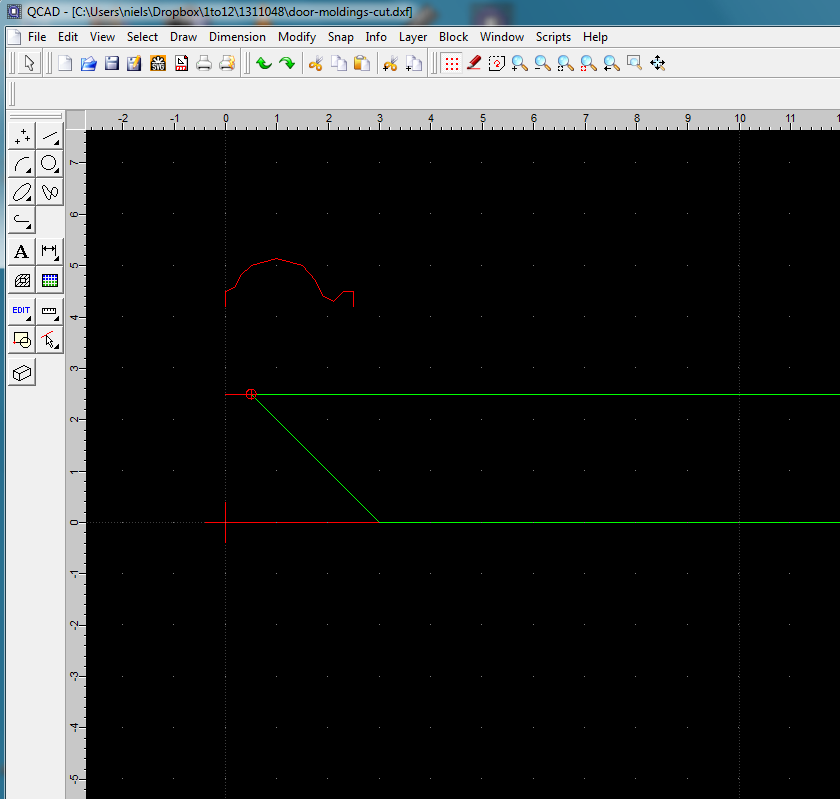
The molding is drawn the cad program, in my case Qcad.
Then imported into Aspire.
And with a few clicks with the mouse the toolpath for the molding is generated ready to be cut in the cnc.
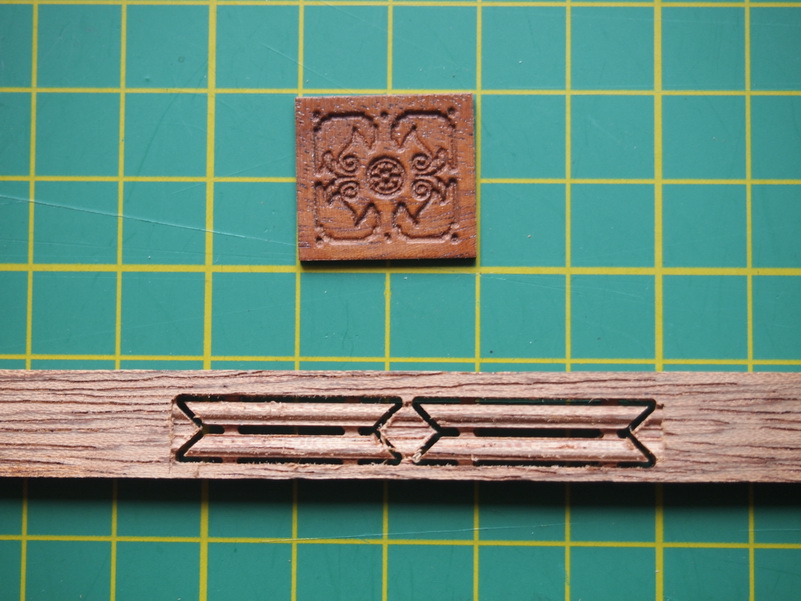
I cut one and began cutting miters when it hit me: W"hy cut those miters by hand?" The machine can do that and more precise than with the handsaw and old miterbox. So back to the drawingboard (cad-program).
And shortly after this was produced. The frame for one of the carved doors.
A little cleaning up.
And a little glue.
Cutting the moldings isn't fast. On my little cnc this small molding takes about 45minutes.
The frames placed on a printout.
Have fun
Niels


